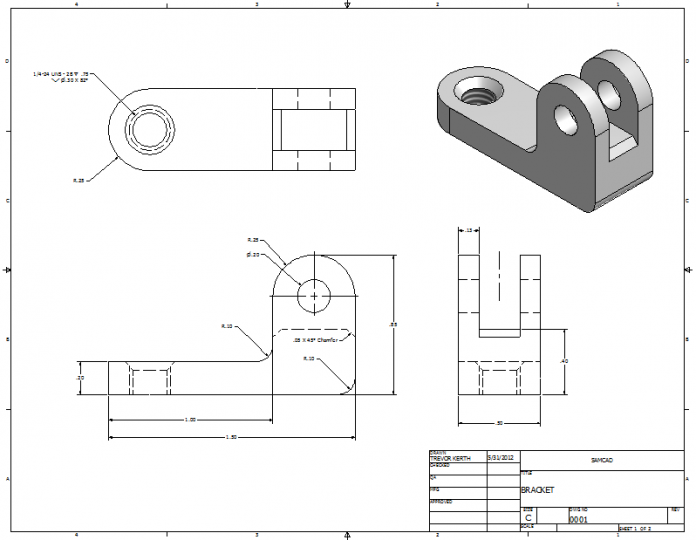
According to mechanical engineering, the concept of tolerances set the appropriate variance from the specified dimensions. The use of tolerances guarantees that the finished component is widely obtainable, mainly if it is part of a broader assembly.
Failure to set a tolerance in a sensitive thing can make the component unusable as per the design intention, as each manufacturing process has a certain degree of inaccuracy.
However, recognizing an appropriate tolerance means that the manufacturing firm understands how to handle a few critical parts in the production chain with extra focus. This may be the distinction among perfectly mating pieces and scrap metal.
Tolerances can involve a variety of different units. For example, working environments can have humidity tolerance (g / m3), temperature tolerances (° C), etc. In mechanical engineering, we are concerned primarily about tolerances related to angular, linear, and other physical measurements.
However, irrespective of the unit, the tolerance implies an appropriate number of measurements from the baseline (nominal value). Geometric dimensioning and tolerances, also termed as GD&T, is a conceptual term used in design specifications and models to describe the appropriate variance of the elements’ design. Simply it is a set of rules, symbols, and definitions that enable the geometrical aspects of mechanical components to be specified within the practical limits of imperfection.
The GD&T vocabulary consists of proportions, tolerances, symbols, meanings, rules, and conventions that could be used to express precisely the functional specifications for the location, position, scale, and shape of each concept model element. Thus, GD&T is an exact terminology that encourages designers to “portray what they think” for their abstract model.
In engineering drawings, by using Geometric Dimensioning and Tolerancing (GD&T) for functional features, the developer is capable of communicating to the manufacturing company how much geometric irregularity is tolerable before actually compromising the feature of the component. Where the fit or functionality of a part is connected to the dimension of a functional feature. The tolerancing for that element can be flexible where applicable. Regulating the functional features in this manner and allowing for greater dimensional versatility somewhere else in the product, supports the production process and lowers production costs. The probability of the production of scrap products is also minimized, which leads to more cost reductions.
Geometric tolerances help to transmit the precise geometrical specifications for engineering drawings quickly and correctly. They must always be accounted for surfaces that interacted with other pieces, particularly where close tolerances are being implemented to the features concerned. The process may seem at first a little overwhelming and complicated, but it aims to convey specifications in a universally standardized manner.
The most important advantage of Geometric Tolerancing is that the framework explains the design feature rather than the actual geometry itself. Like that formula or a vector, it isn’t the real condition; it’s a description of it.GD&T introduced a library of symbols to represent such design features. These symbols fall into five main categories:
- Form controls define the shape of a feature, such as:
- Flatness
- Straightness
- Cylindricity
- Circularity or round
- Profile controls define the three dimensions of tolerance zone across the surface:
- Line Profile contrasts a two-dimensional cross-section with an optimal shape.
- Surface Profile generates two opposite surfaces among whom the surface of the feature would drop. This is normally calculated with a CMM.
- Orientation controls define measurements that differ from angle to angle, such as:
- Angularity
- Parallelism
- Perpendicularity
- Location controls describe feature locations with linear dimensions:
- Concentricity equates the area of a datum axis to a feature axis.
- Position is the place of the features comparative to each other or the datums, and it is the most commonly used location control.
- Symmetry refers to non-cylindrical sections identical around the datum plane. This dynamic control is generally calculated with a CMM.
- Runout controls specify the sum by which a specific function can differ contrary to the datum:
- Runout Symbol can help when multiple different mistakes happen, like ball-bearing mounted sections.
- Total runout is evaluated at several surface locations, representing the round feature’s runout and the whole surface. This regulates profile, alignment, angularity, and all other differences.
There is no doubt that Geometric Dimensioning and Tolerance (GD&T) brings immense benefits for both engineers and designers operating on complicated systems where dimensions have to be closely controlled. This conveys linear dimensions as well as design intentions that enable to articulate engineering design more explicitly to project teams. Learn more about it at gdandt.com
——————————————————————-

