Introduction
Microsoft developed its own spreadsheet application and launched it in 1985 and named it Microsoft Excel. It quickly became a hit taking on Lotus 1-2-3 due to the seamless data organization. The developers aimed to release new features continuously with every version. It was also very quick to launch the Graphic User Interface with it’s Operating System, Windows. We aim to accomplish everything that a good excel training video through this article.
What is a Workbook?
The data you enter in Microsoft Excel, whether it’s numbers, text, or formulae, is saved in a file called a workbook. Workbooks are just like large electronic volumes with pages or sheets that have been divided into columns and rows. It is useful to understand what Excel is before using it. You can create any number of Worksheets in it.
The combination of all the Worksheets is called a Workbook. There are a total number of 16,384 columns in a single worksheet and they are labelled with a combination of letters from the alphabet but only after exhausting all the 26 letters. A worksheet in a workbook comprises 1,048,576 rows labelled with numbers ranging from 1 to 1,048,576.
What is a Cell?
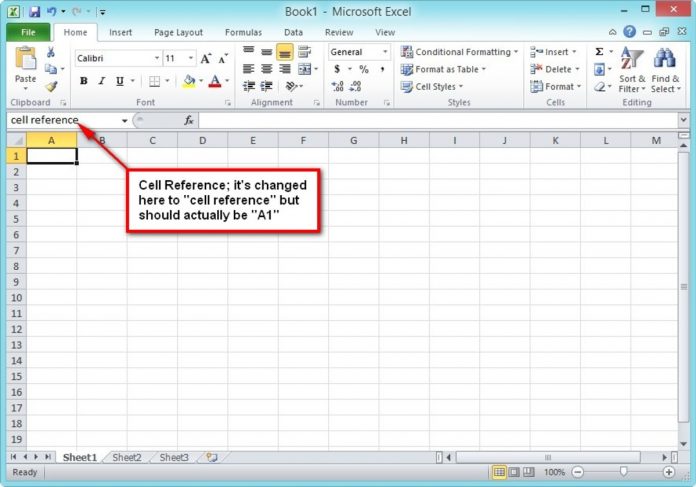
A cell is formed by the union of a row and a column. The data to work with is entered into these cells. Each cell in a worksheet may accommodate up to 32,767 characters — however it would be impractical to do so. A cell is addressed using the combination of column and row labels. For example, the cell addressed as A6 is the cell formed at the junction of column A and row 6. The addressing is crucial since it is commonly used in formulae.
Typing in a Worksheet:
You can find some excel video to have a better graphic understanding of how to work with Worksheets. In order to input data into a worksheet, you first have to select the cell into which you want to enter the data which will make the cell active. This may be accomplished in a variety of methods, the most frequent of which is to click on it first. We can also use the arrow keys to move to a cell in a specific direction.
Inserting and Deleting Worksheets:
Sometimes after getting the gist of the work, it may feel necessary to either delete or insert a worksheet. However, it is to be kept in mind that the deletion of a Worksheet is an irreversible task and cannot be undone by Ctrl + Z. To insert a new Worksheet, we can either click on the + sign right next to the tab where all the sheets in the workbook are displayed which is to the bottom left of the screen or use the keyboard shortcut Shift + F11. To delete a Worksheet, we just have to right click on the sheet to delete and select delete from the list of options. To understand the workflow to insert or delete a worksheet, there are a lot of excel tutorial videos you can refer to.
Renaming Worksheets:
You can also rename your worksheets to something more relevant and meaningful which by default is Sheet1, Sheet2 and so on. It is a good practice when working professionally on Excel. To rename a sheet name, just double-click on the particular sheet tab which essentially changes the tab into edit mode. Type in the new name of the Worksheet and press Enter. The sheet would be labelled by the new name. The other way to do it is to right click on the sheet name and select Rename.
Wrapping and Merging Text:
There would be times when the data we wish to enter is longer than the cell length. In such cases the data would spill over to the cells to their if they are empty and if they aren’t the data will be hidden. In such cases we can either wrap the text so that the text gets adjusted in a single cell at the cost of the increment of row height or merge the cells so that all the cells right to the cell which has a lengthy data becomes one. To wrap the text, click on the cell in which the text is to be wrapped. The next step is to click on the Wrap Text option in the Alignment group on the home tab whereas to merge the cells, select merge cells from the Drop arrow of Merge & Centre in the Alignment group.

