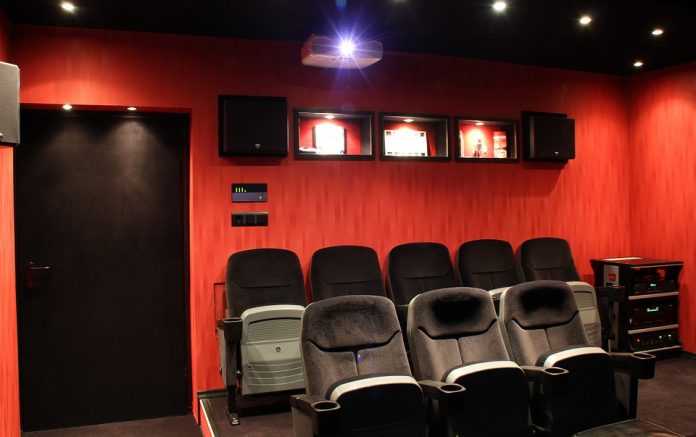
Setting up a home theater projector for perfect theater experience is indeed a scintillating as well as a daunting task. You will have to follow a lot of processes to complete the work. To simply it, we have laid out a curated process which will assist you in reaching the goal;
Marking the right area
Before commencing on the setup process, first, decide where you will set up the projector. Always choose a room where you can comfortably place all the equipment without feeling space cringe. Make sure you have a wide wall that will offer space to expand the screen size and a large side area so that you can place the speaker system. It is better to measure the dimension of the room or the placement area before you purchase the home-theater projector. You may find it difficult to choose the best home theater projector. Here is a cool guide from Gadget Lounge: https://www.gadgetlounge.net/cheap-home-theater-projector/.
In addition to space, also consider all the limitation that you might have regarding the noise level.
Placing the projector screen
After you have selected the placement area, now it is time to put the screen in the appropriate wall. However, if you don’t find a clear wall, then you can opt for a standing screen which will drive away the need for a wall or any other arrangement. Remember a standing screen is slightly tricky to set up, and the chances of getting damaged are high if not managed carefully.
We would recommend you to opt for a retractable screen if you want a quick setup and stay safe. During installation, you should adequately stretch the screen in the wall, or else you won’t get the appropriate video quality. For convenience, you can put two hooks to stretch the screen properly.
Putting the projector at a proper distance
Now comes the most crucial step where you need to place the projector at the right place at the right distance. It is a complicated part as a little mistake in the calculation can jeopardize the whole setup. The ceiling mount is the most common choice for home-theater setup as it saves space, drives away the issue of shadow and offers space for audio installation. For ceiling mount, it should be placed upside down, and you will have to attach it with bracket for a steady installation. Try to install it in such a way that lens is in parallel to the middle of the screen.
To mark the throw distance, first measure it in the ground and after you have found the place, the mark the point on the ceiling accordingly. However, if you don’t want to go for permanent installation, then we will recommend you go with a front projection (preferably with short throw projector as it will offer space for movement). Moreover, table installation provides a lot of adjustment while setting the picture quality.
Hooking the video source and other cables
In step, you need to hook all the wires and the video source which you will need to set up the home theater. At first, you will have to connect the power cable to the primary source but don’t switch it on. Then join the video source to the projector and the plausible medium of connection is HDMI. In addition to HDMI, you will also have D-Sub, VGA, and video-out connection facility. You can opt for Wi-Fi or Bluetooth connectivity for wireless video streaming. After connecting all the cable, now switch on all the connection and check whether it is properly connected or not. If you can’t find the video source, then manually search for the device in the device search menu.
Adjustment and Tuning
To get the ideal picture after setup you need a lot of adjustments and tuning. So in the beginning, you have to angle the lens so that the whole image fits within the screen. Start by projecting the inbuilt test pattern and then adjust height until and unless the entire test pattern is within the boundary. To accommodate the height either fiddle with the height of the table or ceiling bracket. Now for further adjustment of the angle, lens position, focus and zoom you can utilize the keystone, lens or digital zoom facility of the projector.
After all adjustments, it is time to shift to the picture tuning process which will ultimately provide you the desired quality. Project an image on the screen and then go to the image settings in the menu. In the image setting, adjust the color, brightness, sharpness, contrast, color temp to check whether you are getting the right quality or not. However, if you don’t want to fiddle with the settings, then opt for the presets and either select the cinema mode or vivid mode to get a movie-theater-like quality. It is recommended to keep balanced settings so that the vibrancy doesn’t hurt your eye. Keep the aspect ratio to either 16:10 or 16:9 to get the cinematic output.
Setting the audio
Lastly, to complete the home theater setup you can’t omit the audio. It would be best to install a home-theater sound system or 5.1 audio which will provide the cinema like audio surround. Avoid using the inbuilt speaker as it would neither give you the surround sound nor the quality. If you have a space issue, you can even opt for a stereo or 2.1 audio system to enjoy the stereo experience.
Try to connect the audio with HDMI cable as it has large bandwidth which will offer fluidic audio output. While placing the speaker, make sure it is not cramped into one place; instead, it should be placed in a surrounding manner which will result in theater-like sound effect.
Now put on your favorite and enjoy a theater experience at home comfort.

