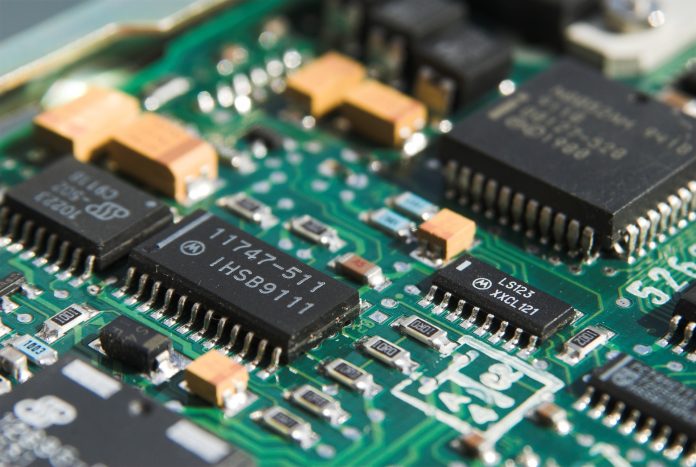
Most of the electronic devices that consumers use have printed circuit boards (PCBs) in them. Therefore, PCBs are crucial to the manufacturing of numerous products for both domestic and industrial use. Because of this, tech enthusiasts like yourself take it upon themselves to learn PCB design on their own. They can then use their knowledge and expertise to produce more work for more clients. If you want to take advantage of this profitable opportunity, continue reading to learn how to design your own circuit board.
Choose A Type Of PCB
To begin the process of designing your own circuit board, choose a type of PCB. Common types include single-sided, double-sided and multi-layered. Because each type requires different amounts of materials, you need to determine which kind you need for your current project. Tech enthusiasts use clad on one side and copper for the base of single-sided PCBs. In contrast, double-sided printed circuit boards require bases of copper on both sides. The multi-layered option entails separating multiple layers with insulation. Decide on one of these PCB types to kick-start the process of designing your own circuit board.
Find A Quality Software Solution
Once you decide on a type of PCB to design, find a quality software solution. The best ones offer designers real-time DRC and 3D preview options. These tools along with others enable you to accelerate your design process. Look for a software solution that has smart manual routing tools for better development. Moreover, invest in a system that has hierarchical schematics. This feature is crucial for the planning portion of every PCB design you start. Choose a reliable, feature-loaded software system to set yourself up for circuit board design success.
Create The Schematic
After you invest in a quality software system, begin by creating the schematic. This step may seem tedious to new PCB designers who want to jump right into designing on the board itself. However, it simplifies the design process and is, therefore, a crucial step to take as a beginner. You can define and edit the circuit interconnectivity much easier when you begin with the schematic. It also enables you to utilize a large database of libraries. With these additional resources, you can learn how to design a circuit board more effectively. As you get more comfortable with your software, you can even create your own schematic symbols to streamline your design process. Create the schematic before diving into the board itself. Then, you can convert it onto your board layout for an impressive design.
Arrange Parts On The Board
When electronics engineers complete the schematics step, they transfer their work onto the board and start arranging the parts. Keep in mind that how you position your parts will directly affect your routing process. If you want to achieve a successful process, you need to keep the most important parts in the middle of your board. These parts include the ones that will have the most connections. You also need to keep your parts a decent distance away from the edges of your board. Keep these pieces of advice in mind to design a circuit board successfully.
Connect Components To Each Other
Finally, connect your components to each other. The wiring portion of the process is the last step and possibly the most exciting one. Your software solution should have a wiring tool that allows you to connect your components with a few clicks of your mouse instantly. Select the starting point and the ending point of each connection to draw them together. Once you complete this step properly, you should be left with a highly functioning routing process. Moreover, you will have created a circuit board that can be used in a wide array of electronic gadgets.
The majority of today’s electronic devices have printed circuit boards within them. If you want to add to your technological skills, learning how to design your own circuit board is a step in the right direction. Before you can kick-start the process, you need to choose the type of PCB that you wish to design. Then, invest in a PCB design software solution that has an array of useful features. Create the schematic instead of trying to design directly on the board. Once you complete that step, arrange the parts on the board, keeping in mind that the parts with the most connections need to stay in the center. Lastly, connect the arranged components together using software solution’s wiring tool. Complete these steps to design your own circuit board.

